Nimbus - Clock & Weather
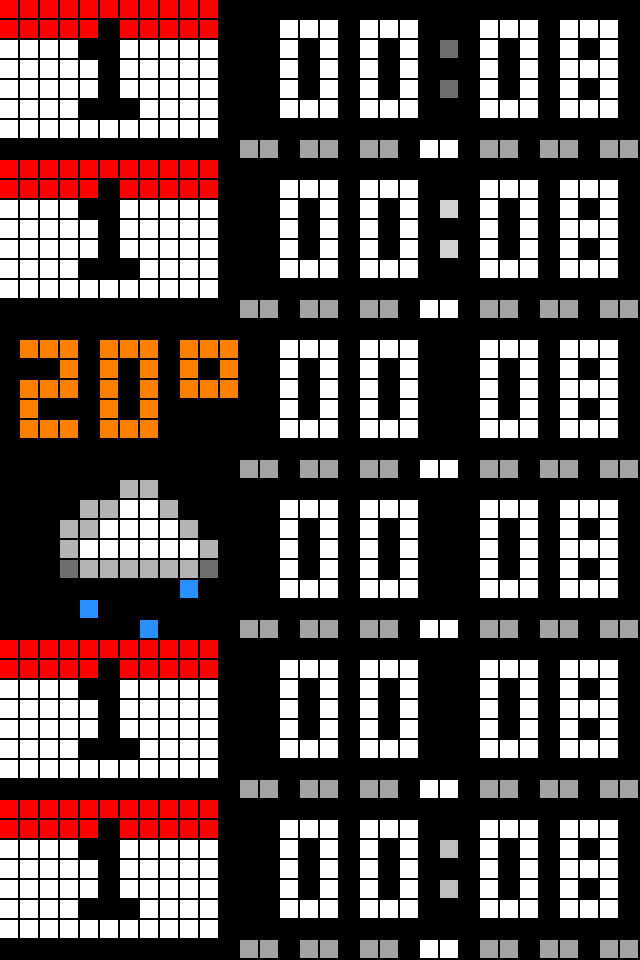
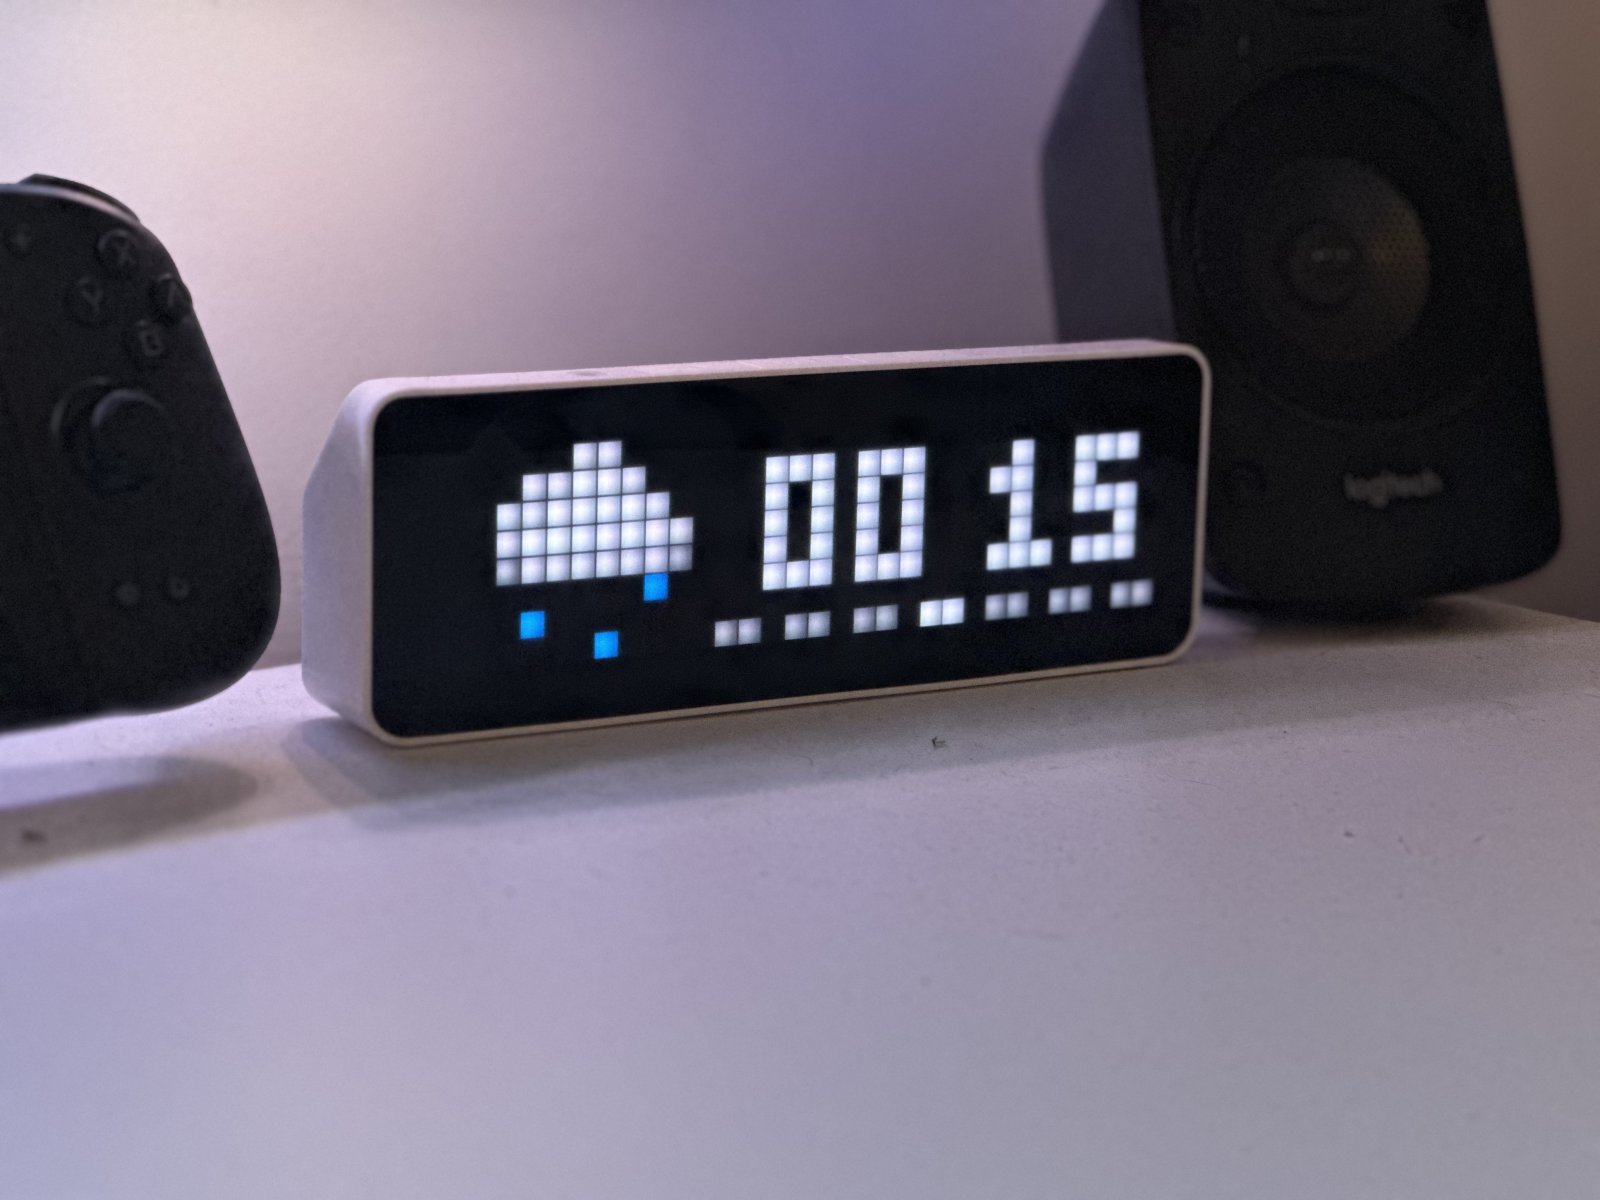
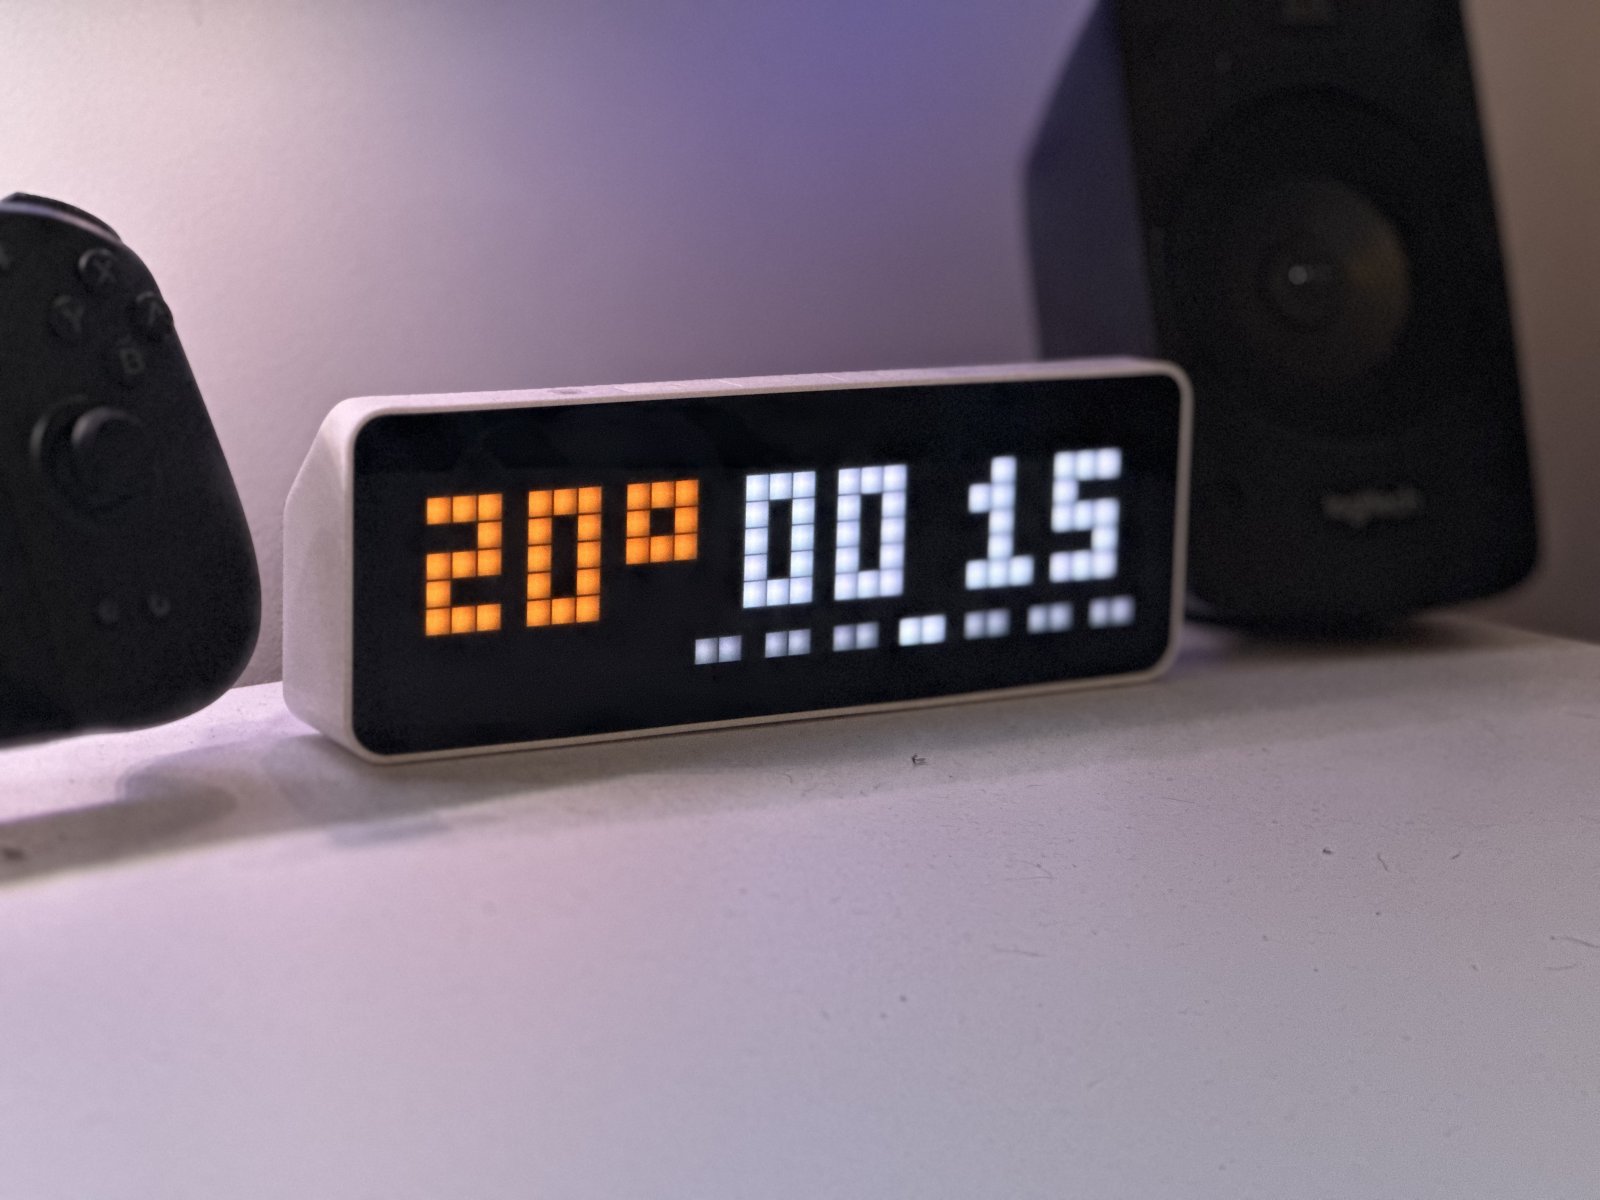
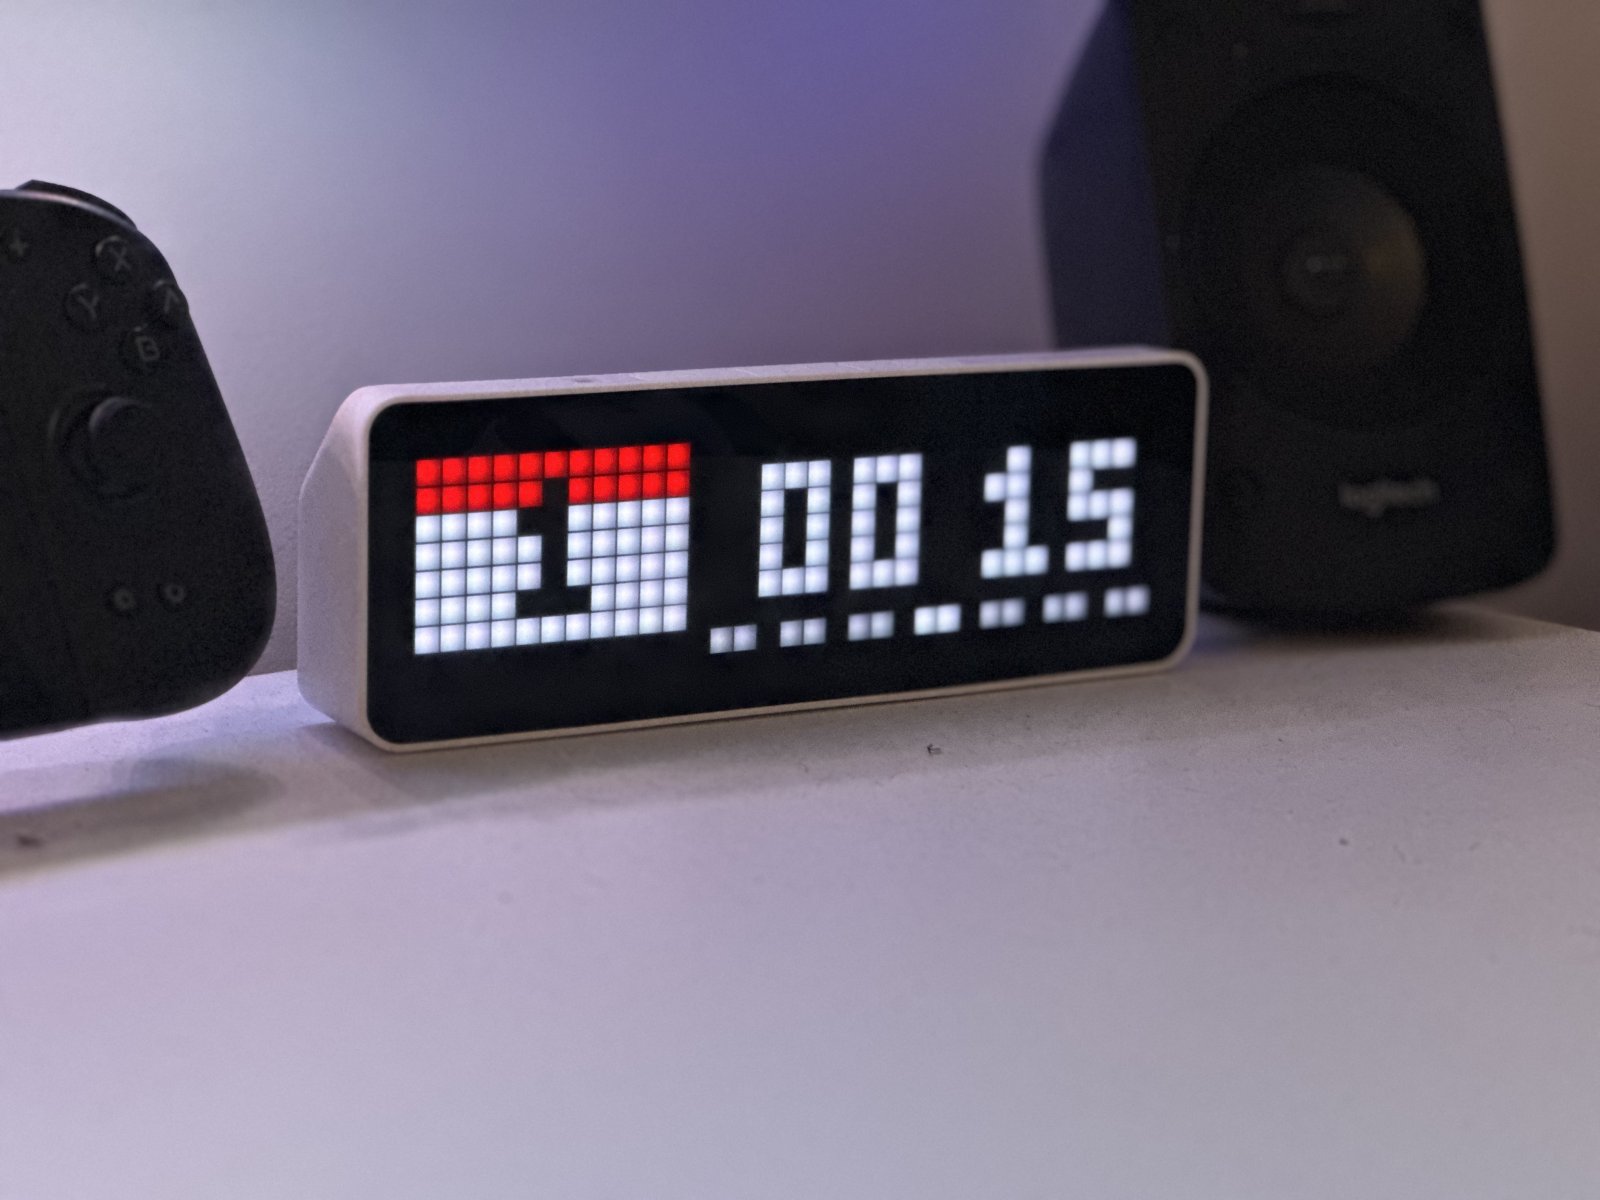
On your display
A crisp clock with a rotating calendar, color-coded temperature and animated weather icons, plus a red night mode
- Topic
- Smarthome
- Includes
- Script
Runs on
- Runs on 32×8 (TC001 & DIY)
- Runs on 52×16 (TC002)
- Does not run on 32×8 with AWTRIX 3 (TC001 & DIY) Made for AWTRIX NG.
Choose your display in the next step.
Script description
Nimbus keeps the time on one side of the display and rotates the other side between the calendar, the outdoor temperature and an animated weather icon. Weather comes from Open-Meteo: free, no account, no API key. Everything is built in, so there are no icons to install.
Features
- Always-on clock: HH:MM with a pulsing colon, on the left or right side
- Week bar under the clock, today highlighted
- Rotating panel: calendar → temperature → weather icon, with separate durations for the date and the weather
- 8 transitions: wipe, fade, pixel morph, scroll up/down, slide left/right, or none
- Temperature color that follows the weather: blue at 10 °C and below, orange around 20 °C, red from 30 °C (°C/°F follows your device setting)
- 8 built-in animated weather icons, day/night aware: sun, clear night, partly cloudy, cloudy, fog, rain, snow, thunderstorm
- Night mode: only a centered red clock and week bar. Turn it on manually, on a schedule, or over MQTT (Home Assistant friendly)
- Time and calendar colors follow your device settings
Setup
- Install Nimbus.
- Open its settings and set your latitude and longitude (the default is Paris). You can get them by right-clicking a spot in Google Maps.
- That's it. If you like, pick the clock side, the transition, the durations and the week-bar colors.
Settings
| Setting | What it does |
|---|---|
| Latitude / Longitude | Where the weather comes from |
| Weather refresh | Minutes between updates (retries every minute if a fetch fails) |
| Date duration | Seconds the calendar stays on screen |
| Temperature / icon duration | Seconds the temperature, then the icon, stay on screen |
| Transition | wipe, fade, morph, down, up, left, right or none |
| Week days color / Current day color | Colors of the week bar |
| Week starts Sunday | Otherwise the week starts on Monday |
| Clock on the right | Otherwise the clock is on the left |
| Night mode | Turns the night mode on |
| Automatic night mode | Night mode between Night mode from and until (22 h → 7 h by default) |
| Night mode MQTT topic | Topic Nimbus listens on to switch the night mode |
Night mode over MQTT
Set Night mode MQTT topic, then send on or off to it (true/false and 1/0 also work). Home Assistant example:
action: mqtt.publish
data:
  topic: awtrix/nimbus/night
  payload: "on"
  retain: true
The last change wins between the Night mode setting and MQTT, and Nimbus remembers the state across restarts, so retain is optional. It only helps if the clock was offline when you sent the message. During the automatic hours, night mode stays on whatever the manual switch says.
Tip: at very low brightness, dim colors can disappear on the LEDs. If your week days vanish at night, pick a lighter color for them.
What's new in 1.2
- Night mode works with retained MQTT messages: a retained
offno longer overrides the Night mode setting when you save the settings. - The degree sign is a solid dot instead of a ring.
- Better clock alignment with the week bar, in the normal layout and in night mode.
Compatibility
Made and tested on the Ulanzi TC001 (32×8). Other panels may work but haven't been tested yet; feedback welcome!
Source code and full changelog on GitHub: https://github.com/AkdM/awtrix-ng-nimbus-clock-weather
Sign in to view and copy the code of this script.
Discussion 1
Ask a question, suggest a change or share how you use it.
Newest first
Have an idea?
Sign in to ask questions and join the conversation.