Moon phases
Use with Home Assistant Blueprint
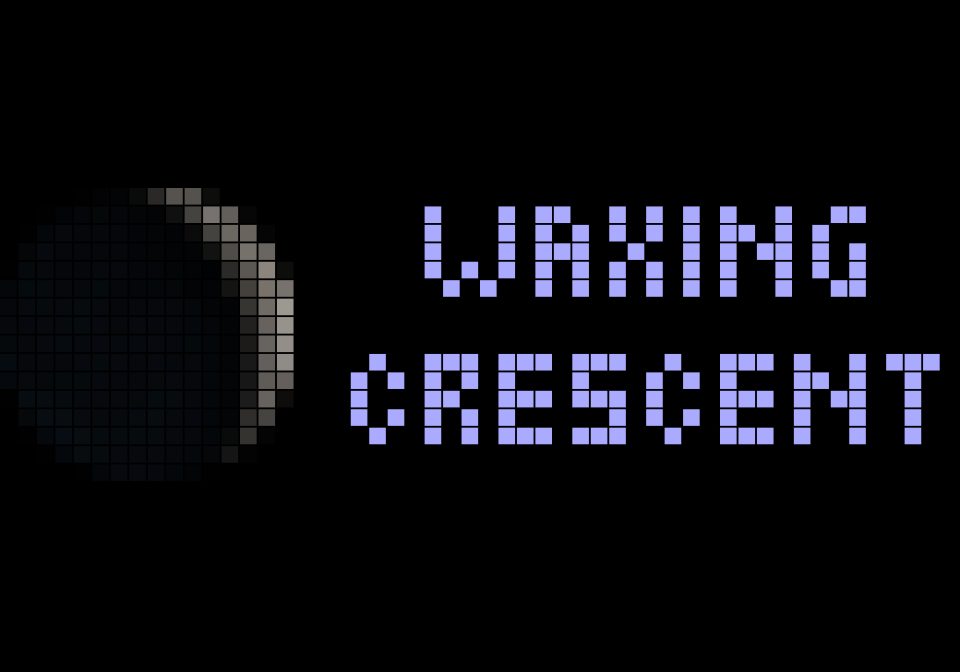
Shows the current moonphase
- Topic
- Miscellaneous
- Includes
- Flow
Runs on
- Does not run on 32×8 (TC001 & DIY) Made for 52×16 (TC002).
- Runs on 52×16 (TC002)
- Does not run on 32×8 with AWTRIX 3 (TC001 & DIY) Made for AWTRIX NG.
Flow description
AWTRIX NG Moon Phase (TC002) – Quick Guide
The blueprint awtrix_ng_moon_phase_tc002.yaml shows the moon phase icon on the left and the phase name on the right (two lines). It finds the icon by name, so the icons must exist on the clock with exactly the right names.
1. Icon names the blueprint expects
The icon ID is <prefix><phase>. With an empty prefix (default) the clock needs these eight icons:
| Moon phase | Required icon name |
|---|---|
| New moon | new_moon |
| Waxing crescent | waxing_crescent |
| First quarter | first_quarter |
| Waxing gibbous | waxing_gibbous |
| Full moon | full_moon |
| Waning gibbous | waning_gibbous |
| Last quarter | last_quarter |
| Waning crescent | waning_crescent |
Rules (from the AWTRIX NG docs): the icon ID is the file name without extension, it is case-sensitive, and GIF is recommended (PNG/JPG are converted to GIF on upload). If one icon is missing, AWTRIX NG refuses the whole update and nothing is shown.
With a prefix such as moon_, the names become moon_new_moon, moon_full_moon, etc. Set the same prefix in the blueprint's "Icon name prefix" field.
2. Get the icons onto the TC002
- Open https://awtrix.de/icons?size=16x16 and use Search icons to find moon phase icons (16×16 fits the 16×16 icon box in the layout; the Hub only hosts GIFs up to 52×16).
- Open an icon and press Send to AWTRIX (needs a Hub sign-in and your connection key). Your browser copies the icon to the clock over your local network.
Alternative: download the GIF, then in the clock's web UI go to Icons → Add and drop the file.
Note: Hub icons get a lowercase, hyphenated ID such as
moon-new. The blueprint needs underscores and the names above, so renaming is normally required.
3. Rename the icons
Option A – on the clock (web UI):
- Open the clock's web UI → Icons.
- Open the ⋯ menu on the icon → Rename.
- Enter the exact name from the table above (e.g.
new_moon) and save.
Option B – before uploading: rename the downloaded file on your PC (new_moon.gif), then upload it via Icons → Add.
4. Set up the blueprint
- Import
awtrix_ng_moon_phase_tc002.yamland create an automation. - Select your display(s) under AWTRIX Displays, or enter your MQTT topic prefix (e.g.
Ulanzi) under Extra MQTT prefixes. - Select your moon sensor (
sensor.moon, from the built-in Moon integration). - Choose a Language (Dutch, English, German) or Custom and fill in your own texts.
- Set Icon name prefix only if you used one in step 3.
5. Troubleshooting
- Nothing shows on the clock: check the icon names (typos, capitals, extension) in Icons, and look at the Log tab in the web UI for a refused update.
- Text but no icon: the icon name doesn't match, or "Show icon" is off.
- Text in the wrong language: with Custom, an empty field falls back to English.
Sign in to view and copy the code of this flow.
Discussion 0
Ask a question, suggest a change or share how you use it.
No comments yet. Start the conversation.
More flows for Home Assistant Blueprint or Miscellaneous
Something wrong with this flow? Report it.
Have an idea?
Sign in to ask questions and join the conversation.